- By: Sydney Hadden
- January 08, 2013
Google Shopping: Merchant Center Step-by-Step Setup Guide
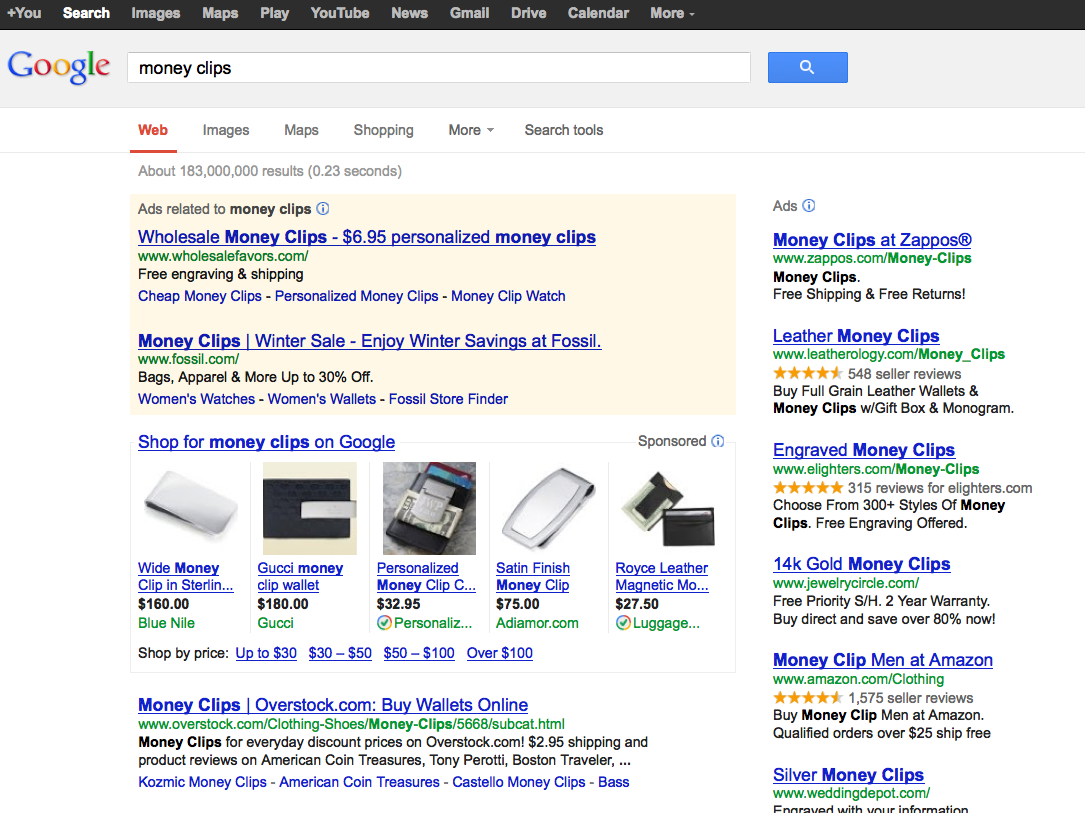
Ever notice the products that pop up on the right hand side of Google when you search something? How about the option to search “shopping” rather than “web” or “images”? This is called Google Product Search, or Google Shopping; it provides a price comparison platform to help consumers evaluate different products, prices, and retailers. If you have an e-commerce site, this is a must have item on your advertising budget for 2013. While product search advertising is more cost effective than a TV spot on Honey Boo-Boo, that is not the only reason e-commerce sites should be using it. Google shopping results are one of the best ways to get your products seen immediately by your customers. This platform allows for very specific targeting. From a consumer standpoint, it’s great because it gives them easy access to your products and reviews in a user-friendly, convenient way.
I recently developed a Merchant Center account with Google to start running product listings for several of our clients. I hit a few snags along the way and wasn’t sure how to proceed. After calling the Google technical center and being told countless times that they did not have a staff dedicated to merchant center and could not tell me why I was running into problems, I finally figured things out through a long process of trial-and-error. It only seems right that I should share the experience if can be a help to advertisers using (or trying to use) this service. Keep in mind, if you do not have a system that will auto-pull the data from your site on your products (there are a number of data feed services out there), this will not be an effective marketing tactic (the amount of time needed to develop the attributes would be extremely inefficient). So if you’re ready with your feed, below is a guide to setting up a product listings campaign.
Step 1: Creating your account
- Create an account at Google Merchant Center or use a current Gmail account (use the Google account you use for everything. It will keep things a lot simpler).
- Select relevant info: location, agree to terms of service, configure your account
Step 2: Setting up your account
- Register your domain:
- Verify your domain by entering your website (be sure to only include your root domain, not sub-pages)
- Verify your website URL at Webmaster Tools (if you don’t already have an account, use the same access information as your Merchant Center account you just created)
- Click the “Add a site” button, type in your URL (be sure to include http://), click “continue”. The Site verification page should open – in the name box type the name of your site as you want it to appear. Finally, select the verification method you want to use, then follow those instructions. Google just posted a Youtube video to help explain these methods.
- Claim your website URL
- Sign back into your Merchant Center account. Click on the “Settings” link, then “General”. Under the Website URL section, enter your sites URL then click “Claim this URL”. Make sure you save your changes to confirm the claim. You will know it worked if you see a “Verified and Claimed” message displayed under your URL.
 Step 3: Create your product data
- Download your data feed files from your site (in either .txt or .xml). Make sure that your feeds follow Google Feed Specifications.
- Test Your Data Feed
- Select “Data Feeds” From the left hand menu
- Select “New Test Data Feed”
- Name you test feed (ex. “Product Name Test”)
- Target the United States (or whatever country you’re looking to target)
- Select “Googlebase” as the format
- Save Changes
- Within the file you just created, select “manual upload”
- Find your data feed, then select “upload”
- Wait for Merchant Center to process your request. When you check back, view how many files were inserted (listed to the right, in blue, under the “status” column
- If your items were not successfully added, load them into the debugger
- Resolve any issues within the debugger, then try a new test feed
- Once your items are successfully loaded, upload and actual data feed.
- Once in the “Data Feeds” section from the left navigation select “New Data Feed”
- Follow the same steps as the test feed
- Then select “create schedule” under the upload column.
- Schedule your feed to upload daily. It’s best to choose an hour in the early morning before people are searching (preferably 2 am)
- Enter the feed URL
- Select “Schedule and fetch now”
- Select “Data Feeds” From the left hand menu
 Step 4: Advanced account settings
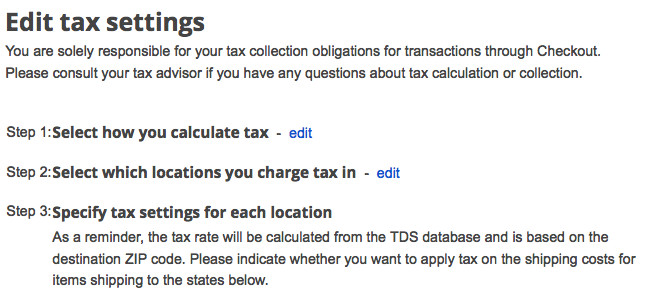
- Set your Tax Settings
- In the settings drop down on the left navigation, select “Tax and shipping”
- Select how you calculate tax
- The easiest method is to use “Domestic Taxes: Using Tax Data Systems data (based on ZIP Code)”
- Select which locations you charge a tax in
- Specify tax settings for each location (select the locations you wish to apply the tax to)
- Select how you calculate tax
- In the settings drop down on the left navigation, select “Tax and shipping”
- Set your Shipping Methods
- Below the tax settings, select “Create new method”
- Select your shipping region
- Select weight unit
- Select how you calculate shipping
 Link your Merchant account to Adwords
- Select “Adwords” from the settings drop down in the left hand navigation
- Enter your Adwords Customer Id
- This can be found within your Adwords account in the upper left hand corner, listed ad “client id”
- Enter your Adwords Customer Id
The main benefit of creating product listings is to help get your products directly in front of your customers. If you’ve got great product images, even better. Google Shopping is an extremely cost effective way to get this accomplished, and if the picture of your product corresponds to great value, you’ll have conversion rates that produce high ROI’s.
So that’s how to get started. Targeting keywords, excluding searches, adding keywords, and customizing messages are a whole other issue. Keep your eyes peeled for my next blog post on how to optimize these product listing ads and targeting options.